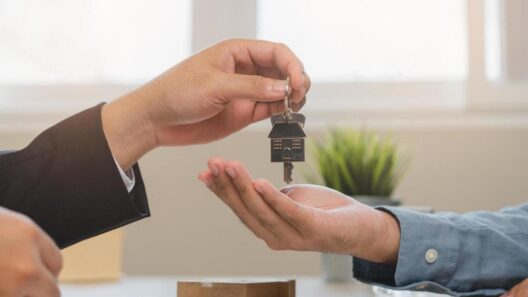


You are days, maybe hours, away from owning your new home. Almost everything is done: the offer, the inspection, the financing. There is just one step left before you sign, and it is an important one. The final walkthrough is your last chance to confirm the home is in the condition you expect before the sale becomes final.
This guide explains what the final walkthrough before closing is for, what to check while you are there, and what to do if something is not right.
What is a final walkthrough?
The final walkthrough is a visit to the home shortly before closing, giving you a last look at the property before ownership transfers to you. It usually happens within a day or two of closing, sometimes the same day.
It is not a second home inspection. Its purpose is narrower: to confirm that the home is in the expected condition, that any agreed-upon repairs were completed, and that nothing has changed for the worse since you last saw it. Think of it as a final confirmation rather than a fresh evaluation. For how it fits into the overall process, see our home buying process steps guide.
Why the final walkthrough matters
Between your earlier visits and closing day, time has passed. The sellers may have moved out, repairs may or may not have been completed, and the empty home can reveal things that furniture previously hid. The walkthrough exists to catch any of these before you sign, while you still have room to raise concerns.
Once you close, the home is yours, along with any problems that come with it. That is why this quick final step carries real weight: it is your last opportunity to confirm everything is as agreed before the purchase is locked in.
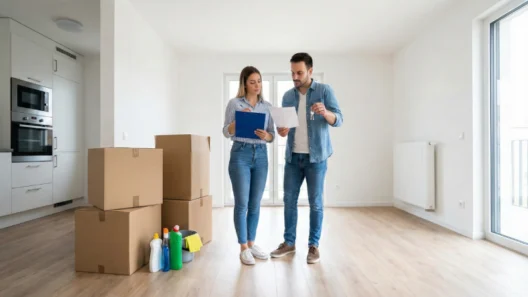
What to check during the final walkthrough
Use this as a practical checklist for your walkthrough. While every home is different, these are the things buyers most commonly confirm:
Agreed-upon repairs
- Any repairs the seller agreed to make are completed
- The work appears to have been done properly
Systems and utilities
- Heating and cooling are working
- Water runs and drains at faucets, and toilets flush
- Electrical outlets and light switches work
- Major appliances that are included are operating
The home’s condition
- No new damage has appeared since your last visit
- Nothing that was supposed to stay has been removed
- Items that were meant to be included (such as certain appliances or fixtures) are still there
- The home is clean and clear of the seller’s belongings, as agreed
The overall space
- Walls, floors, and ceilings look as expected
- Windows and doors open, close, and lock
- No signs of new leaks, water damage, or other issues
Taking your time here is worth it. An unhurried walkthrough is far more likely to catch something than a quick glance on the way to closing.
What to bring
A few things make the walkthrough more effective:
- Your inspection report, so you can confirm agreed-upon repairs were addressed
- A list of anything that was supposed to be repaired, included, or left behind
- Your phone, for photos and to test things as you go
- Your real estate agent, who often attends and can help you assess anything questionable
What to do if something is wrong
If the walkthrough reveals a problem, such as a repair that was not completed, new damage, or something missing that was meant to stay, do not simply proceed and hope it works out. Raise it before closing, while you still have leverage.
Your real estate agent can help you address it, and depending on the situation and your contract, options may include delaying closing until the issue is resolved, negotiating a credit or fix, or other remedies. The key point is timing: it is far easier to address a problem before you sign than after. This is precisely why the walkthrough happens before closing rather than after.
Frequently asked questions
What is a final walkthrough? The final walkthrough is a visit to the home shortly before closing to confirm it is in the expected condition, that agreed-upon repairs were completed, and that nothing has changed for the worse. It is a final confirmation, not a second inspection.
When does the final walkthrough happen? It typically takes place within a day or two of closing, and sometimes on closing day itself. The goal is to see the home as close to the final moment as possible.
What should I check during a final walkthrough? Confirm that agreed-upon repairs are done, that systems and utilities work, that included items are still present, and that no new damage has appeared since your last visit. Bringing your inspection report helps you check repairs against what was promised.
What happens if something is wrong at the final walkthrough? Raise it before closing rather than proceeding. Depending on your contract, options may include delaying closing, negotiating a fix or credit, or other remedies. Your real estate agent can help you decide how to handle it.
Is the final walkthrough the same as a home inspection? No. A home inspection is a detailed professional evaluation of the home’s condition earlier in the process. The final walkthrough is a brief, buyer-led confirmation just before closing that the home is as expected.
The bottom line
The final walkthrough before closing is a short step, but a meaningful one. It is your last chance to confirm the home is in the condition you agreed to, that promised repairs are done, and that nothing has changed since you last looked, all while you still have room to act if something is off. Approach it unhurried, bring your inspection report and a clear list of what to check, and raise any concerns before you sign. Done well, it lets you walk into closing confident that the home you are about to own is the one you expected.
For what comes right after, see our guide on closing on a house, or start with our complete first-time home buyer guide.